Start with the Security Objectives
Before placing a single camera, define what you're trying to achieve. The answer determines everything about camera selection and placement. Common objectives include:
- Deter theft and vandalism
- Identify perpetrators after incidents for police reports
- Document liability incidents (slip-and-falls, vehicle accidents)
- Monitor employee activity and operational compliance
- Control access to restricted areas
- Provide real-time situational awareness for security staff
Different objectives require different camera capabilities. Identification requires high-resolution cameras with tight fields of view. Wide-area awareness can use lower-resolution wide-angle cameras. Write down your objectives before proceeding.
Step 1: Map Your Property
Create or obtain a floor plan or site map. For large commercial properties, architectural drawings are ideal. For simpler installations, a hand-drawn sketch with approximate dimensions works fine. Mark all:
- Entry and exit points (doors, windows, gates, loading docks)
- High-value areas (cash registers, safes, server rooms, inventory storage)
- High-traffic corridors (lobby, main hallway, checkout lanes)
- Existing infrastructure (electrical panels, network closets, conduit routes)
- Problematic areas (existing blind spots, areas of past incidents)
Step 2: Prioritize Coverage Zones
Assign coverage priority to each area:
- Priority 1 (Must Cover): All entry/exit points, cash handling areas, high-value storage
- Priority 2 (Should Cover): Main traffic corridors, parking areas, loading zones
- Priority 3 (Nice to Have): Secondary areas, overflow parking, utility access points
Your budget determines how many Priority 2 and 3 areas you can cover. Never compromise Priority 1 coverage.
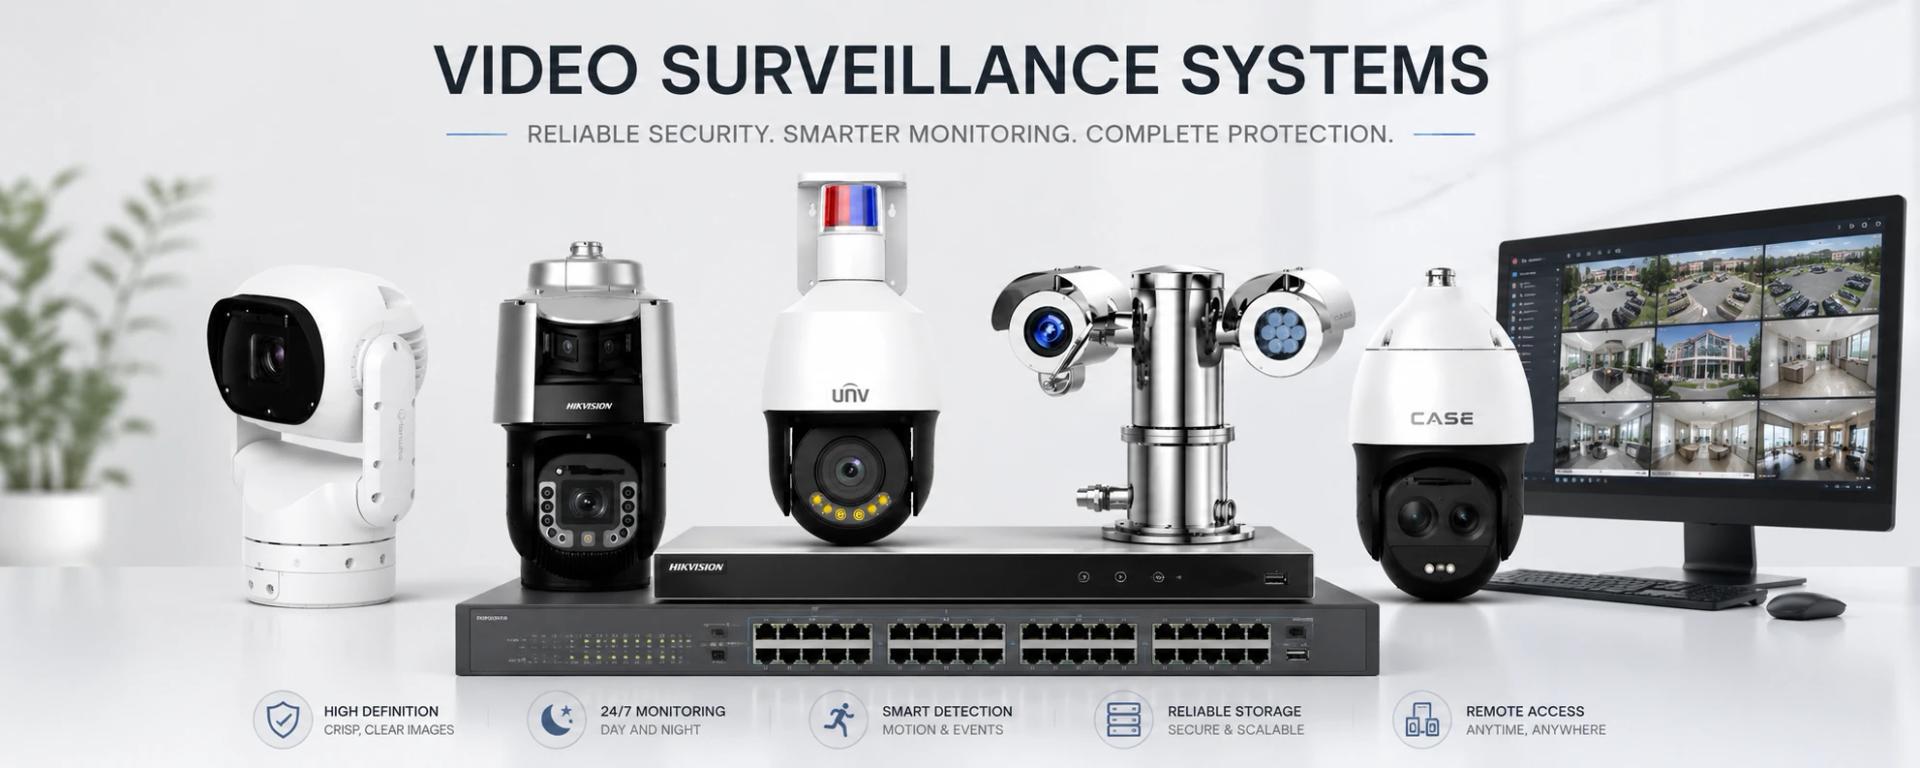
Step 3: Determine Camera Types for Each Zone
Match camera capabilities to the requirements of each zone:
- Entrances/exits: 4MP+ fixed camera, WDR for backlit conditions, positioned for face capture (camera at face height, 6–8 feet, or angled downward from above — not shooting into sunlight)
- Large open areas: Wide-angle fixed camera or fisheye for small rooms; PTZ for large areas requiring operator control
- Long corridors: Narrow field-of-view (varifocal at tight zoom) for good detail at distance
- License plates: Dedicated LPR camera or high-res camera with narrow FOV, positioned parallel to vehicle travel direction
- Perimeter: Bullet cameras with IR range matching your detection distance; AI perimeter cameras for alert-triggered recording
Step 4: Calculate Coverage Overlap
Each camera should cover its primary zone with approximately 20% overlap into adjacent zones. This overlap ensures continuity — if a subject moves between camera views, they appear in both cameras momentarily, allowing investigators to follow movement through the site. Gaps between camera zones are common mistakes that allow subjects to transit unseen.
Step 5: Address Lighting
Lighting is the single biggest predictor of image quality. For each camera position, ask:
- Is there backlighting (window or door behind subjects)? → Requires WDR camera
- Is there complete darkness? → Requires IR cameras or supplemental lighting
- Is there mixed strong light and shadow? → Requires WDR
- Is artificial lighting adequate and consistent? → Standard camera may suffice
Step 6: Plan Cable Routes
For each camera position, determine the cable route back to the NVR location. Prefer concealed routes through walls, ceilings, or conduit. For outdoor cameras, plan waterproof conduit entry points. Keep cable runs under 300 feet for standard PoE; use PoE extenders or fiber for longer runs. Document all planned routes before installation begins.
Common Layout Mistakes to Avoid
- Cameras aimed into sunlight or bright windows (silhouettes faces)
- Cameras positioned too high (captures top of heads, not faces)
- Wide-angle cameras placed too far from subjects (insufficient detail)
- Ignoring secondary exits (criminals find the uncovered door)
- No coverage overlap between adjacent cameras
- Cameras visible from outside through windows (allows attackers to plan around coverage)
Get a Professional Layout Review
IDS CCTV provides complimentary camera layout design as part of any installation proposal. Our designers review your floor plan and site conditions and provide a coverage diagram with specific camera positions, models, and coverage zones before any work begins. Contact us to start a no-obligation design consultation.


